Your Pre-Season Garmin Gear CheckIt's almost hunting season. The weather's finally starting to turn, and it's time to get the dogs back in the field. Before that first hunt, though, it pays to run through your Garmin gear from top to bottom. Here's my full preseason checklist, the same one I run through on my own gear every year.
Your Preseason Garmin Gear Check: Everything You Need to Do Before Hunting Seasonby Steve Snell, Gun Dog Supply It's almost hunting season. The weather's finally starting to turn, and it's time to get the dogs back in the field. Before that first hunt, though, it pays to run through your Garmin gear from top to bottom. Here's my full preseason checklist, the same one I run through on my own gear every year. 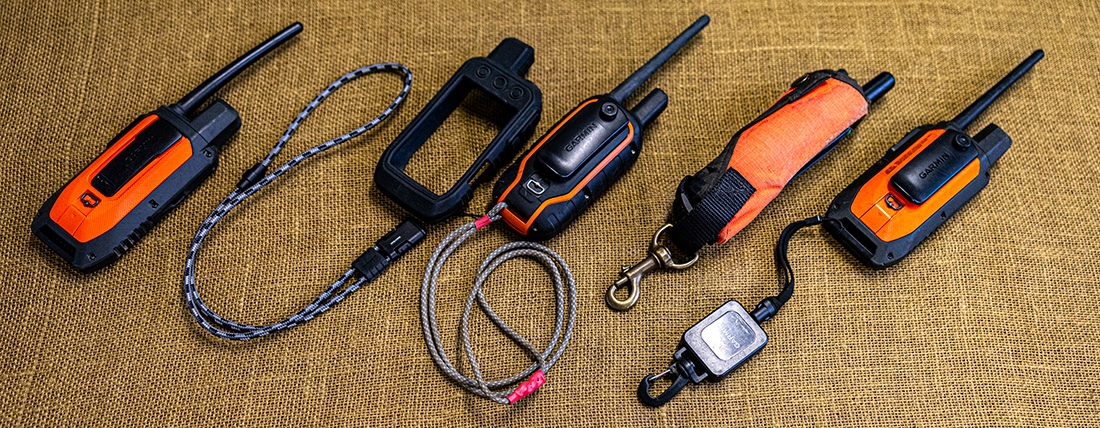
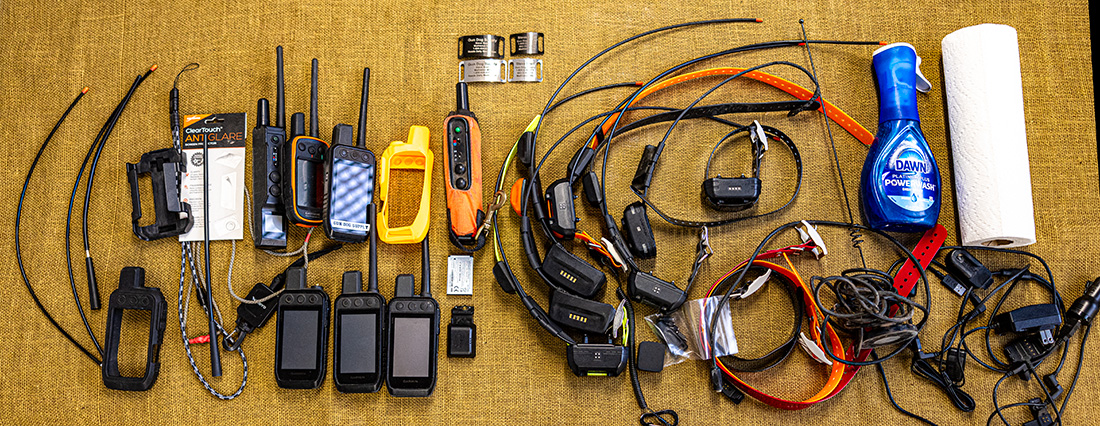
1. Take InventoryStart by gathering everything: every handheld, every collar, and charger you own. If you're anything like me, gear ends up scattered everywhere: some at the house, some in the truck, some in a bag from the last trip. Get it all in one place and take stock of what you actually have. This is also the right time to think about upgrades. If you've got extra gear you're not using, it's a great time to trade it in on something new. If you need something, buy it now. Don't wait until you're scrambling right before a hunt. My setup, for reference: I run a Pro 550 Plus and an Alpha 300i as my handheld combo, paired with TT25 mini collars with extended batteries. 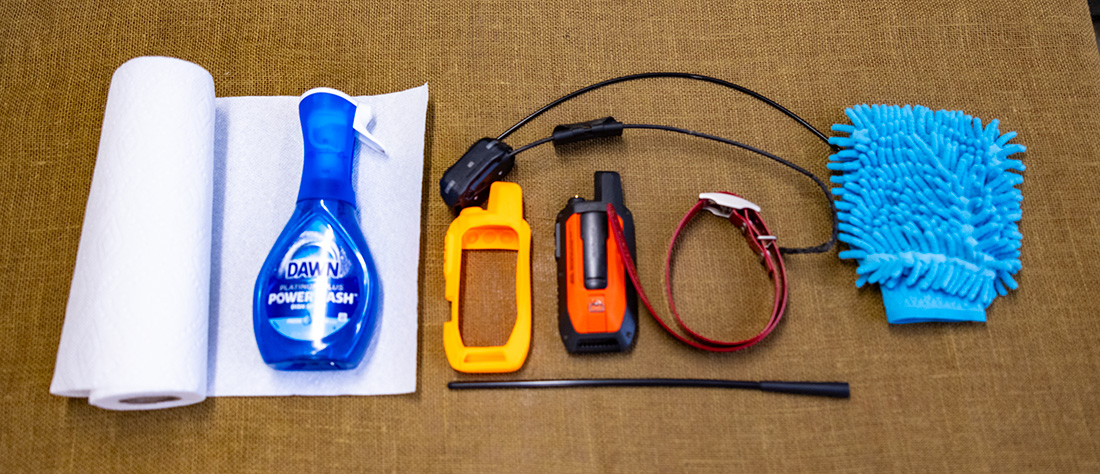
2. Clean EverythingIn a perfect world you cleaned your gear at the end of last season. In the real world, that usually doesn't happen, so now's the time.
Cleaning isn't just cosmetic. It's your best chance to spot damage that's hiding under grime before it becomes a real problem in the field. 3. Check and Replace User-Replaceable PartsOnce everything's clean, go through the parts that wear out or work loose over time:
4. Update Your SoftwareHandheld e-collars (Sport Pro, Pro 70, regular Pro 550) don't have updatable software, so this doesn't apply to them. GPS collars, GPS track-and-train collars, and Alpha/Pro 550 Plus handhelds all need to be update. I recommend updating at least twice a year, or any time you're troubleshooting an issue. It's the first thing Garmin support (or we) will ask if you call in with a problem. There are two ways to update: Wi-Fi updates (Alpha 200/200i/200 Plus/300/300i handhelds, and TT20/TT25 collars): Set up your Wi-Fi once on the handheld, and from then on, every time you put it on the charger it checks for and installs updates automatically. For TT20/TT25 collars, you set up Wi-Fi individually on each collar through the dog info screen. This can be a little tedious the first time, but automatic afterward. You can also set up collar Wi-Fi updates through Garmin Express if you'd rather not do it on the handheld. Garmin Express (a computer program): Required for the Pro 550 Plus handheld (no Wi-Fi option) and for older gear: Alpha 100, TT15X, mini TT15, and mini T5 collars. If you're running the original TT15 or TT10 collars, those update through an older program called Web Updater, also downloadable from Garmin's site. We've got tutorials on our website for all of these if you need a walkthrough. 5. Run a Battery TestDon't just assume your battery life -- test it.
Typical battery lifespan is three to five years, but I've got collars well past that still running fine. This is exactly why I test rather than guess. One important caveat: knowing you can stretch a charge across multiple days doesn't mean you should. I charge everything the night before I run dogs, every time. A tracking collar with a dead battery is worthless. Test your batteries so you know your real numbers, but ALWAYS run on a full charge. 6. Run a Range TestYou can't get an accurate range test on a dog, because they don't cooperate. Instead:
Garmin lists these units at up to nine miles, a number that goes back to when the first units launched in 2007. In practice, that's a best-case, flat, zero-obstruction number you're unlikely to see in the real world. Terrain is the biggest factor: dirt and hills between you and the dog cut range down fast, while open, flat country gets you the most range. A car-top magnetic antenna (common with hound hunters working out of vehicles) can meaningfully extend your range. I carry one as a backup. Worth knowing: if you do lose signal on a dog mid-hunt, your handheld will mark the last known location with a question mark and hold that point, so you can head straight there to try to reacquire the signal. A range test just gives you a realistic sense of what to expect before that happens. 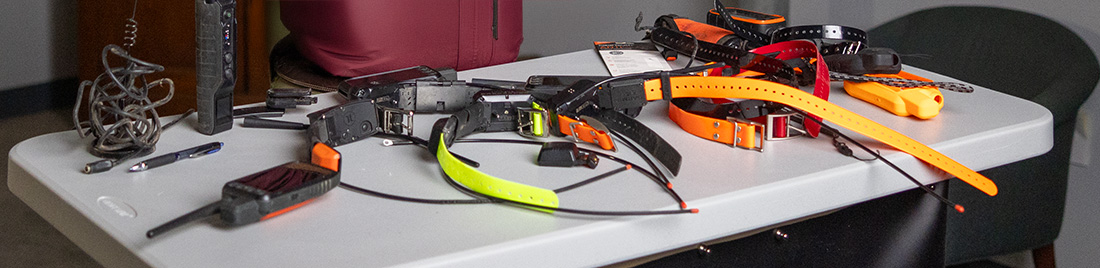
7. Check Your Charging SetupMake sure your charging gear is complete and working:
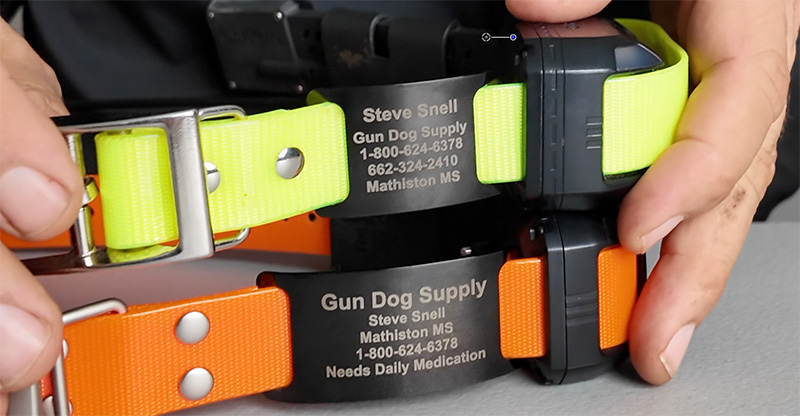
8. Check Your ID TagsEven with tracking gear, having your name and phone number physically on your dog matters. I've had dogs found and returned by people who called the number on the collar before I could get to them with a handheld. Our new slide-on tags fit several spots on the collar (bottom, side, or up near the antenna), and we carry a larger size if you need more information on the tag. Make sure the info is current. 
9. Check How You Carry Your HandheldInspect your holster the same way you inspect the rest of your gear. Wash it, check for excessive wear, and make sure any snaps are working correctly. A few things worth adding if you don't already have them:
10. Set Up Handheld Tracking as a BackupThis might be the single most useful thing in this whole checklist, and a lot of people don't know it exists: Alpha handhelds can track other Alpha handhelds, not just collars. If you hunt with a buddy who also runs an Alpha, take a few minutes to match your handhelds up (similar to adding a dog, you'll need broadcast turned on) so each of you shows up on the other's handheld and map. The real value isn't watching each other move around, it's that if you ever drop your handheld in the field, whoever you're paired with can use their handheld to find yours. Even if you're not paired up with anyone, at minimum know your dogs' tracking codes. You can find them on each dog's info page, and you can manually enter a code into anyone else's handheld to track your dogs. Take a photo of your dog info pages so you have track codes in case your primary handheld is lost or broken. 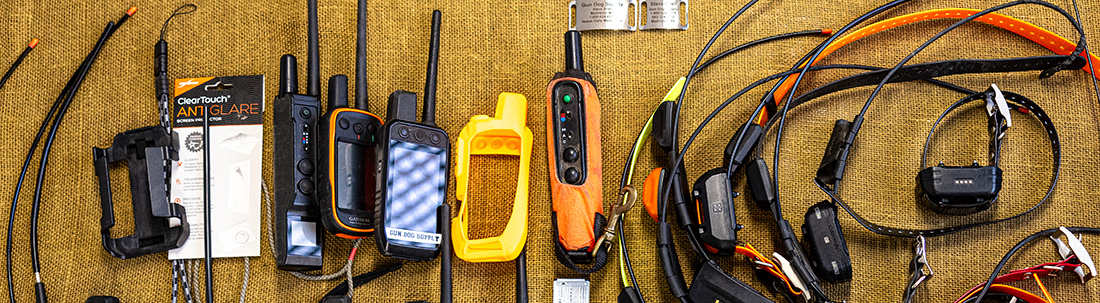
11. Have a Backup PlanElectronics fail, and they tend to fail at the worst possible time. Whether or not you personally own a backup handheld or collar, make sure you have access to one (either your own spare or a hunting partner's) and that tracking codes are shared and accessible. Used gear (like a used Alpha 100 as a backup to a 300i) is a solid, budget-friendly way to cover yourself here, and we carry a good selection of used Garmin gear if you're in the market. The goal is simple: never let a single point of failure be the thing standing between you and finding your dog. Questions about any of this? Give us a call at 1-800-624-6378. We're happy to help you get squared away before the season starts. Got a preseason tip we didn't cover? Email us at sales@gundogsupply.com -- we'd love to hear what works for you. |




FREE SHIPPING on Orders $125+ |
 |  |  |
You New Here? See 9 reasons why you should shop here.